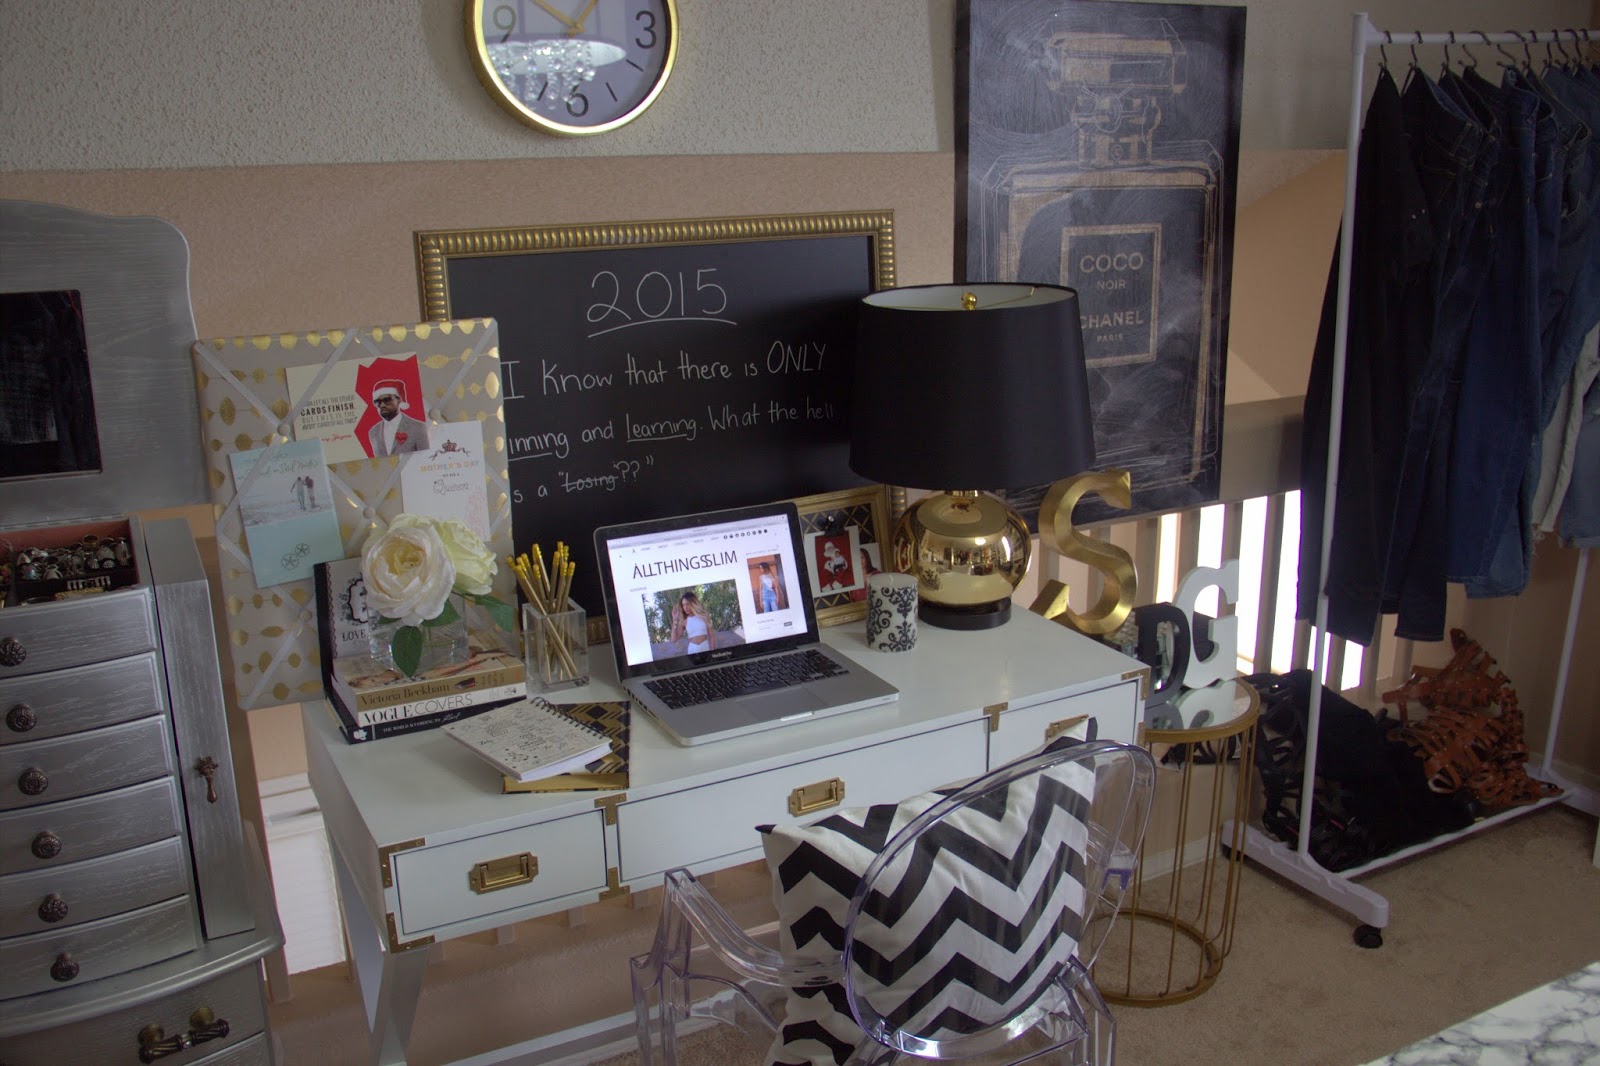
Hey guys! I received several inquiries about my desk, so I decided to do a post on it for those of you who were feeling it. As I said in my DIY closet post, I got this desk after upgrading an affordable one I found online.
I've been obsessed with campaign desks and had a particular one in mind. OF course, it is like $3000 dollars and way out of my budget. What can I say? I've got expensive taste. And not even on purpose lol.
 |
| My inspiration desk |
Once I came to terms with the fact that I was never going to get this beautiful desk, or even a decent knock off, I decided to make it myself. I've been really in to spray painting furniture (I seriously spray painted everything in my house silver or gold lol), so I knew I could pull it off. It really is amazing how a few coats of paint can transform furniture. Case in point: my base desk.
After doing research online, I came across this desk from Target. It's pretty cheap ($130 with the coupon) compared to my dream desk, and it has the basic frame and hardware I needed to achieve my look. I was sold.
 |
| My base desk during a "test". Forgive the appearance of my old place. I was in the middle of moving. |
While at LOWEs buying closet hardware and a washer and dryer, I picked up the main things I needed to complete my dream desk:

Additional items you'll need:
Paint mask
Something to cover the ground with (I like $0.99 shower curtain liners)
Gloves
A well ventilated area. Preferably outdoors.
Fine sand paper
Screw driver
Optional:
Spray gun nozzle
 |
| This is the only photo I have of the process |
After gathering everything I needed, I headed out to the patio to paint. I used a screw driver to remove the hardware from the desk and set them aside. Because I started with a black base desk, I needed to make sure that I completely concealed any traces of black. I did that by adding two thin coats of the white primer being sure to lightly sand the desk between coats.
Using the spray gun over the paint nozzle really helps the process by keeping the stream even and helps your thumb to not hurt lol. After the two coats (I let it dry about 30-45 minutes between each coat) there were no traces of black left.
Once the primer was completely dry (about two hours), I went back in with two coats of the spray lacquer. People say that lacquering is difficult, but I found that spray lacquer is pretty easy and it finishes beautifully. You can add a clear coat if you'd like. I didn't. I plan on putting a plexiglass topper on the desk top to keep it from getting scratched.
Unfortunately, I can't find any photos of me spay painting the brackets, but it's just as simple. I laid all of the screws, desk hardware, and brackets down on the cardboard and gave them all two layers of the gold metallic. I didn't use primer on these.
Once dry, I screwed everything in to place. The screws went right in. Even in the places that didn't have predrilled holes. I'm guessing that's because the desk is made of wood veneer instead of solid wood. It is quite sturdy though.
I totally love my ALLTHINGSSLIM pencils I have yet to sharpen. They are definitely the second cutest thing on the desk after Dylan lol. I got them here.
 |
 |
Thanks for reading and I hope you enjoyed this pictorial!
xx Slim


Did you sand it before painting? One coat of primer then sand then a second coat?
ReplyDeleteHey, this looks great! What spray gun nozzle did you use?
ReplyDelete